1. Create a project and Java class.
In Jdeveloper, click on File->New and choose General->Application in categories column. Select Generic Application and click Ok. Provide Application Name and Project Name in wizard and click ok.
Right-click on the project in Application Navigator and select New from context menu. In New Gallary window, select General->Java under Categories and then select 'Java Class' in Items section and click ok. In Create Java Class wizard, give a suitable name to class and set other properties as needed and click ok.
2. Add methods that need to be exposed as service

3. Create web service from the java class.
Right click on the class and choose 'Create Web Service'. Rest follow the wizard for the completion. If you are not looking for any specific configuration, you can keep all the default setting in wizard. When wizard end's your service is ready to be deployed.
Please note annotation @WebService at the start of the class, this is what makes this class to be recognized as web services.
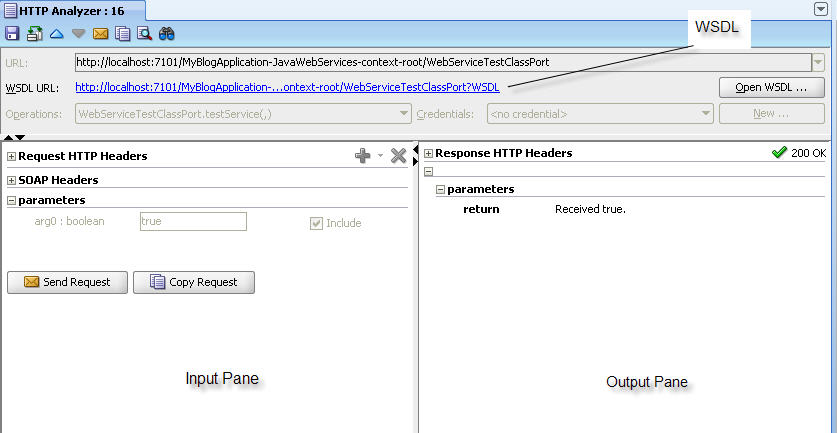
Test your service.
Right click on the java class and choose Test Web Service option from the context menu. This will deploy the service to Integrated Weblogic Server. Jdeveloper by default provides an interface (HTTP Analyzer) that could not only be used to provide input and receive output but we could also view WSDL, SOAP and HTTP messages.
Really simple, isin't ?
thank you
ReplyDelete